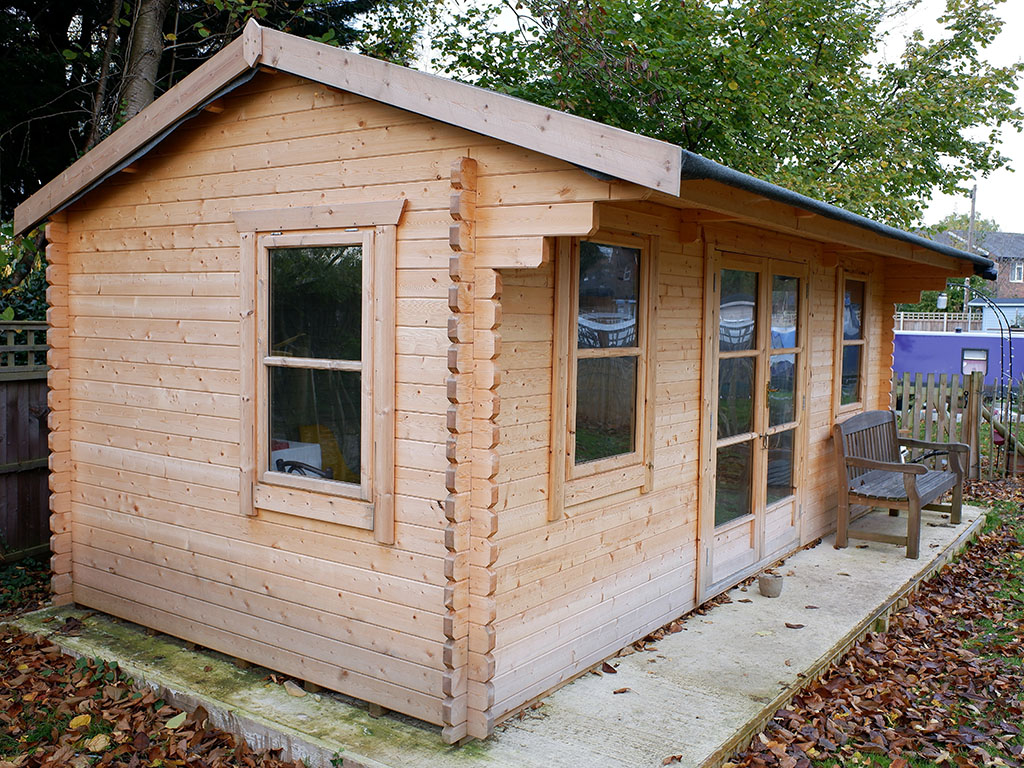
Buying a shed is easier than building one. But since a good shed needs a good foundation, you will still have some prep work before your shed arrives. Whether you choose to do that work yourself or hire someone else, this article will give you what you need to ensure the long-term success of your purchase.
Why you need a good foundation
Our sheds are built on 4×4 pressure-treated timbers, which serve as a solid base. It might be tempting to think that because this base is pressure-treated, you could just set the building on the ground.
But even pressure-treated lumber will eventually give in to moisture and decay. Additionally, without some hardscape underneath, your shed will be prone to settling.
For that reason, whether you’re planning on a simple garden shed or a two-story garage, you must first prepare a good foundation. There are several popular options for foundations:
- A series of concrete blocks
- A concrete pad
- A level bed of stone (gravel)
Using any of these options is better than setting the shed on bare ground, but we strongly recommend the stone foundation. Here’s why–

Gravel is better than concrete blocks
At first, using concrete blocks might seem to be the best option. After all, you can load a few in a pickup bed and set them out in your yard. You don’t need to schedule a dump truck load of stone or take the time and effort to spread and level it.
But concrete blocks are not a good solution. Whether you use 12, 24, or more, they are not as easy to get level and in line with each other as may at first appear. Additionally, they tend to settle over time, which means your shed will start to sink as well.
Gravel is better than a concrete pad
A concrete pad is better than a series of concrete blocks, and in some cases, it is better than a stone pad. But for shed foundations, the loose stone is preferred. For starters, a concrete pad of the same size will cost much more than one of stone.
But beyond that, concrete is impermeable, which means that the 4×4 shed base will be in contact with rainwater for longer periods than if it were set on stone.

Gravel is the better option
While getting a load of gravel isn’t as easy as getting a stack of concrete blocks, gravel is still quite easy to work with. In many cases, the stones can be delivered close to your foundation site. After that, they simply need to be shoveled or raked level—no advanced skills are required.
Additionally, gravel is ideal because of its ability to drain water away from the shed base. Choosing the right stone is important (and we’ll discuss that later), but with the right stone, the shed base will not stay in contact with water. This reduces the onset of wood rot, which is essential for prolonging the lifespan of your shed.
Preparing the foundation: a step-by-step guide
Now that you know why we recommend a stone foundation, we want to explain how to make that foundation as perfect as possible. It might feel like extra or unnecessary work, but remember that the longevity of your investment depends on this foundation!
Determining the dimensions
To prevent settling, we recommend a minimum stone depth of 4”. Of course, you are welcome to go thicker than this, but 4” is generally sufficient to keep your shed stable. Using less stone than this will also not give you enough volume for drainage—the water will reach the soil quickly and will not be able to soak in fast enough.
As for width and length, we recommend that you take the dimensions of your shed and add two feet. For example, if you order a 10×12 shed, you will want a pad measuring 12×14. When we deliver the shed, we will center it on this pad, giving you a foot of stone on all sides of the shed.
Clearing and leveling the area
You’ll want to prepare your site by marking out the space on the ground. You can do this with paint or with stakes and string. An easy way to ensure your foundation is square and not crooked is to mark your length and width, then measure the diagonal corners. If your diagonal measurements are the same, you know you have 90-degree corners.
With your space marked out, remove all organic materials such as grass, vegetation, rocks, and other potential obstructions. When removing grass, make sure you also remove the roots. (Organic matter like this will decay over time and might cause some settling.)
After this, pay attention to leveling the surface of the soil. The significance of a level base cannot be overstated, as it directly influences the shed’s stability. High spots can be raked down, while low spots can be filled with compactable base material till you achieve a flat surface.
- Tip: We suggest that you use 4×4 or 4×6 landscape timbers to mark out the borders of your pad. If you do, then getting the tops of these timbers level will make it easy to get the top of your stone level.
Installing geo fabric
It’s not completely necessary to install geo-fabric on the surface of the soil, but we do recommend it. This fabric provides two benefits. First, it helps prevent the future growth of weeds. And second, it helps provide a stable base for the stone. Although thin, this fabric will be strong enough to prevent the gravel from sinking into the soil.
One note—if you use fabric, make sure it’s permeable. The whole point of gravel is to promote drainage. You don’t want to create a barrier that stops water.

Building the Foundation
Now that you have level ground, it’s time to install the stones.
Choosing the Right Stone/Gravel
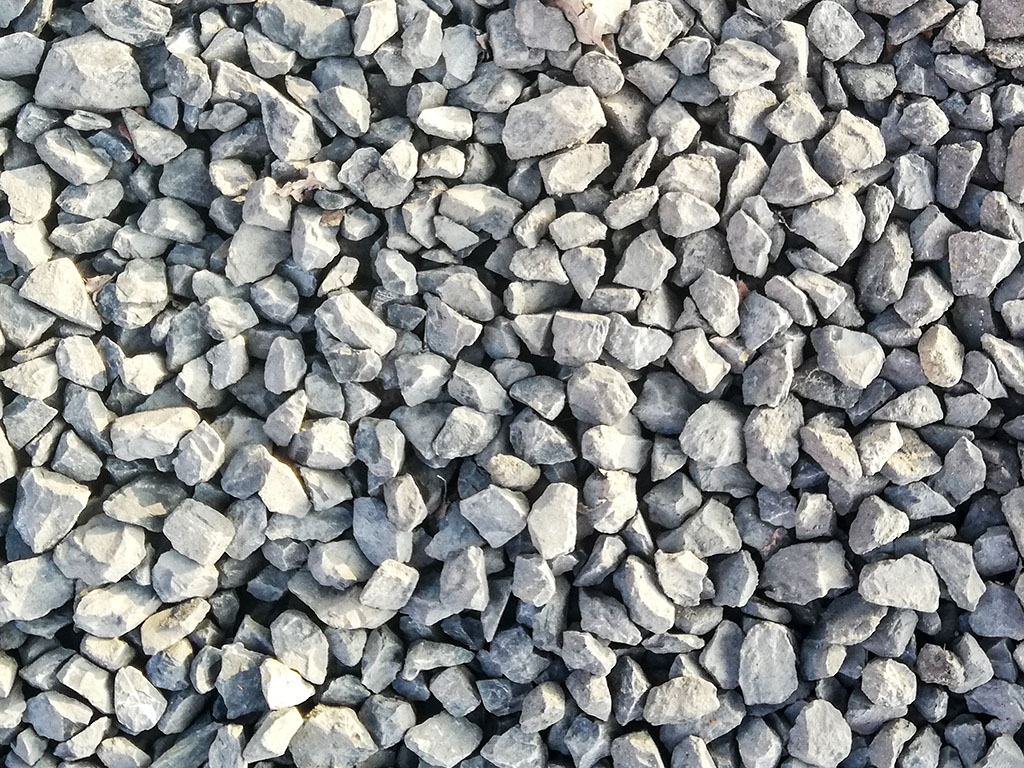
When ordering stone, you want to get something that is angular (not rounded) and that doesn’t have dust (also known as fines). Angular material will lock together, which helps to avoid shifting. You don’t want material that includes stone dust because the small particles will fill gaps between the stones and prevent drainage. (A mixture of stone and dust is ideal for a driveway but not a shed foundation.)
You’ll want to use stones that are the right size for a foundation. Gravel that is too small may not compact well, while gravel that is too big can lead to instability. Aim for something in the middle. A product known in the stone industry as #57 makes a great choice.
Spreading and leveling the stone
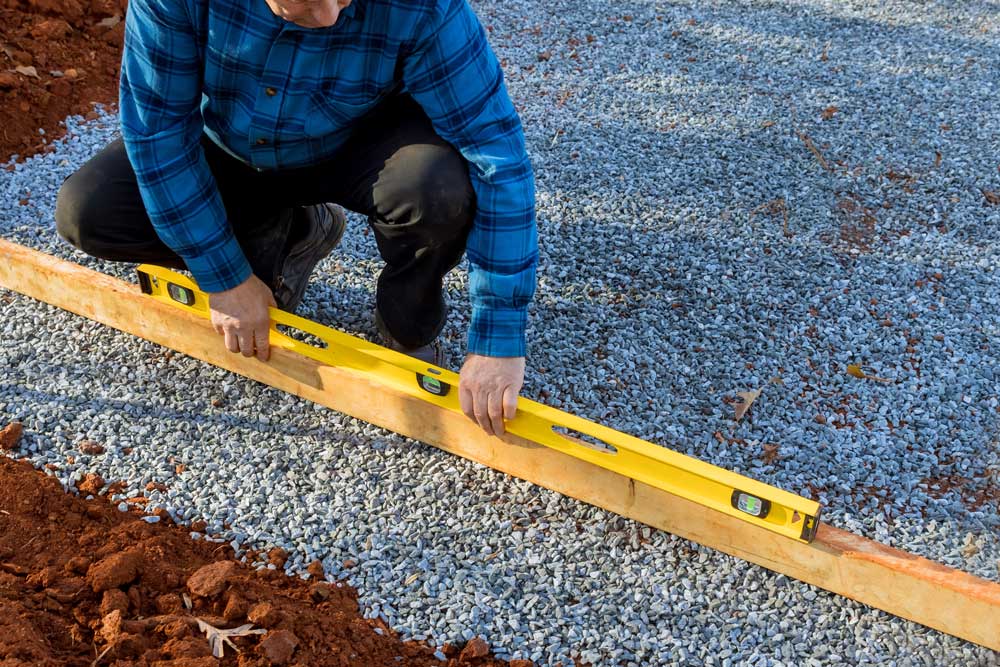
With your stone on site, evenly distribute it across your prepared area. Shovels and hard rakes are ideal for this phase. Obtain a long, straight two-by-four and a bubble level to have on hand. Resting the level on the board will help you create a level surface.
Compacting the stone
Once the stone is level, it’s important to compact it. You can rent a mechanical compactor for this or use a hand tamper. Mechanical compactors are heavy and vibrate up and down like a jackhammer. Hand tampers have a base (usually 8”x8”) made from heavy steel and a wooden handle. By picking up the tool and slamming it into the ground, you will compact the stone. These are cheaper than mechanical compactors, but using them for any sizable area means long, hard work.
Conclusion
A good stone foundation is of critical importance for your shed’s future. The extra work you do initially will ensure years of trouble-free enjoyment. If this sounds like work you don’t want to tackle, just let us know, and we will help you hire a contractor to do the work for you.
